


Patient Benefits
FABRIC COMFORT
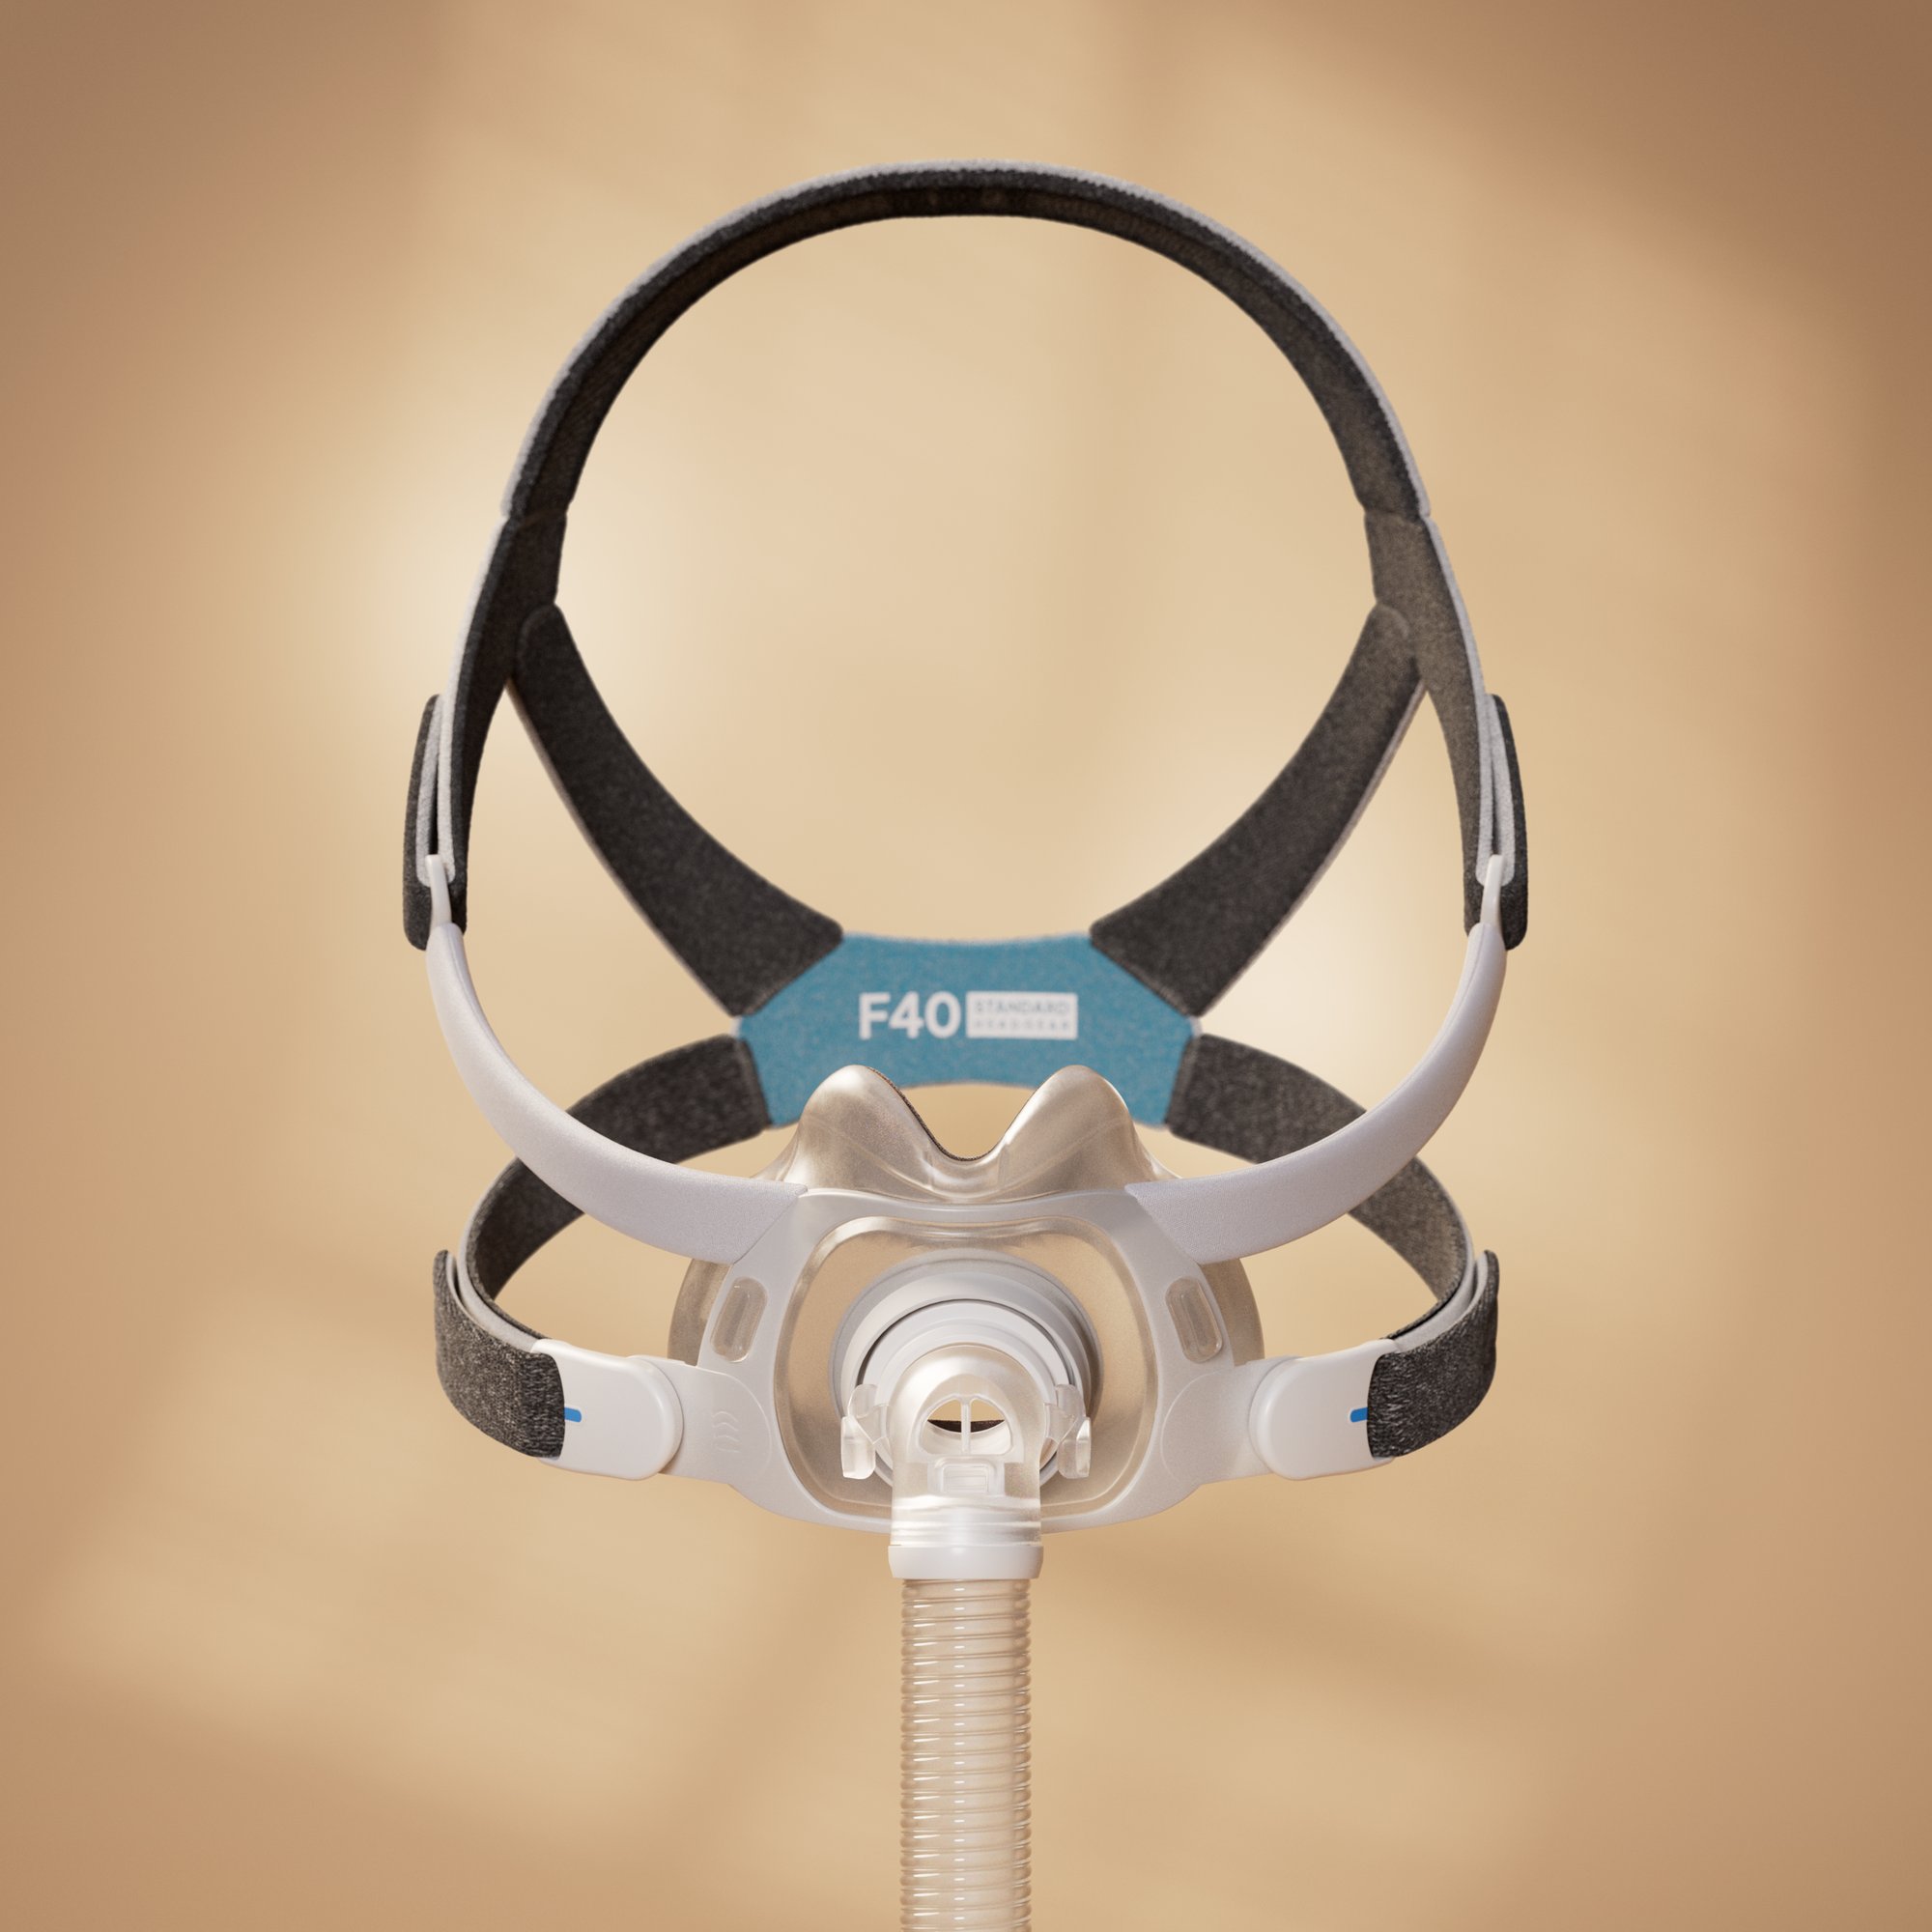
ComfiSoft™ combines fabric and silicone to create a soft, breathable and moisture-wicking surface designed for comfort against the skin.
TRUSTED PERFORMANCE
AdaptiSeal™ silicone adapts to facial contours and movement to help maintain a secure seal.
MINIMALIST EXPERIENCE
The ultra-compact, under-the-nose design reduces facial coverage for a lighter, more natural feel.
Fitting Guide
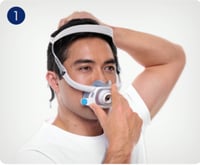
Unclip the lower bands away from the frame and place cushion under the nose to fit against the face.
With the Resmed logo facing up, pull headgear over head.
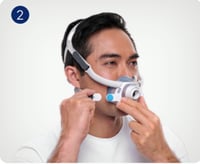
Bring the lower bands behind the ears and reattach to the frame with the magnectic clips.
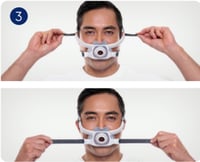
Adjust the upper bands and then the lower bands for a snug fit.
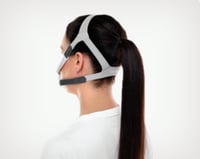
For longer hair, we recommend feeding the hair through the back of the headgear, as pictured. If tied in a ponytail, it should sit high enough to fit through the back of the headgear.
|
Component |
SKU |
Size / description |
HCPCS |
|
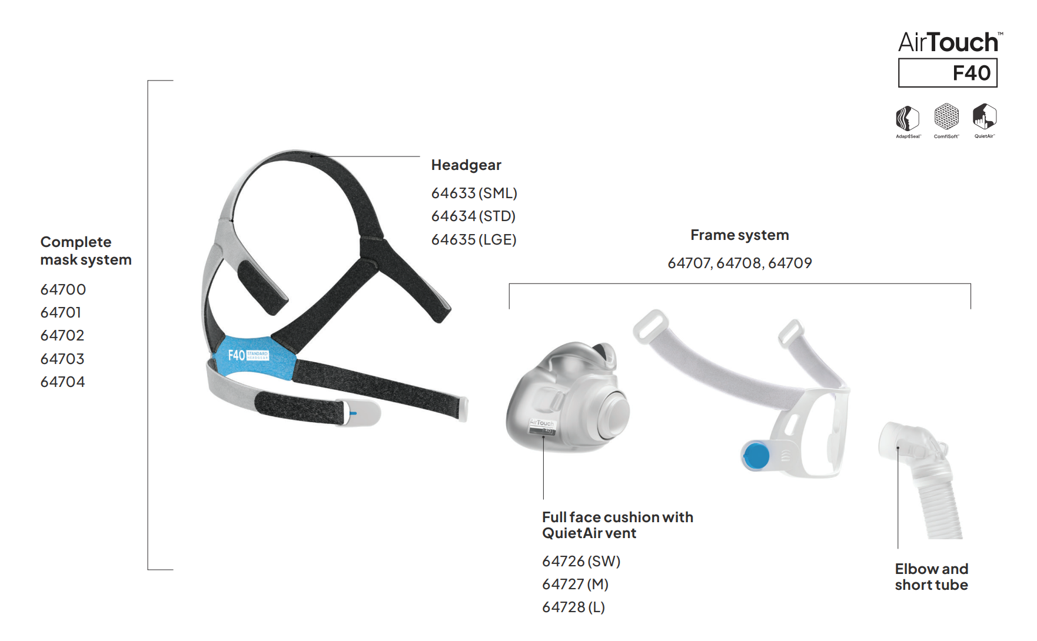
Complete mask system |
64700 |
SW / STD |
A7030 + A7035 |
|
Complete mask system |
64701 |
M / STD |
A7030 + A7035 |
|
Complete mask system |
64702 |
L / STD |
A7030 + A7035 |
|
Complete mask system |
64703 |
M / SML |
A7030 + A7035 |
|
Complete mask system |
64704 |
M / LGE |
A7030 + A7035 |
|
Frame system |
64707 |
SW |
A7030 |
|
Frame system |
64708 |
M |
A7030 |
|
Frame system |
64709 |
L |
A7030 |
|
Replacement cushion |
64726 |
SW Quiet |
A7031 |
|
Replacement cushion |
64727 |
M Quiet |
A7031 |
|
Replacement cushion |
64728 |
L Quiet |
A7031 |
|
Headgear |
64633 |
SML |
A7035 |
|
Headgear |
64634 |
STD |
A7035 |
|
Headgear |
64635 |
LGE |
A7035 |
Disassembly
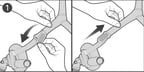
Undo the fastening tabs on the upper headgear straps and pull from the frame.
Tip: Keep the magnetic clips attached to the lower headgear straps to easily distinguish the upper and lower straps when reassembling.

Squeeze the side buttons on the elbow and detach from the vent ring.
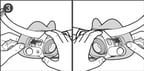
Pull the cushion stud out of the frame stud hole, repeat on the other side.
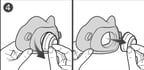
Pull the vent ring from the cushion.
Reassembly

Insert the cushion stud into the frame stud hole. Repeat on the other side.

Align the vent ring groove against the cushion opening. Press firmly to secure in place and ensure that the cushion opening sits into the vent ring groove.

Connect the elbow to the vent ring.

With dark grey fabric side facing inwards, insert both upper headgear straps into the frame from the inside and fold the fastening tabs over to secure.